Keeping your RV water-tight is the most important part of maintenance. Water leaks can lead to mold, rot, and expensive structural damage. Whether you are dealing with RV corner Molding or learning how to seal rv camper wall fasteners, we provide simple, professional steps to protect your investment.
1. Understanding RV Wall Fasteners and Side Seams
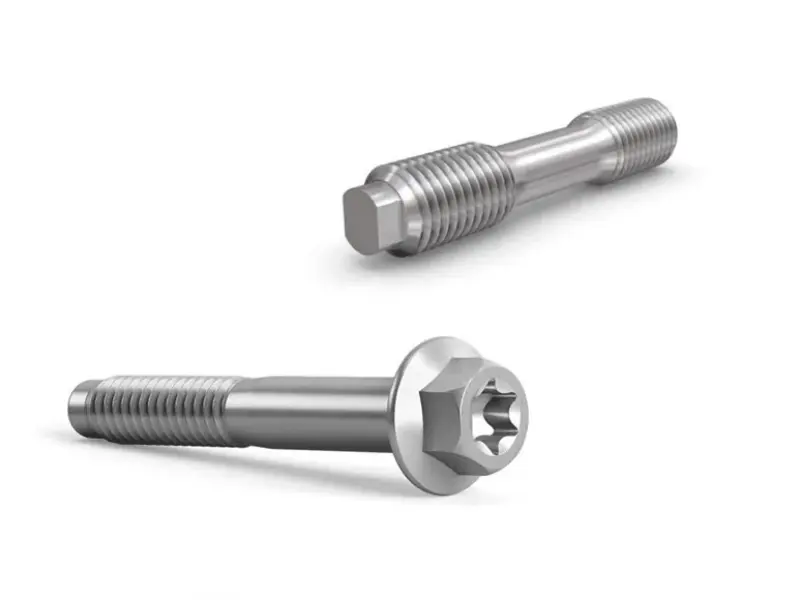
Every screw and joint on your RV is a potential entry point for water. Over time, vibrations from driving loosen these parts.
How to Seal RV Camper Wall Fasteners
Fasteners are the screws and bolts holding your exterior panels together. To seal them properly:
- Remove the old sealant: Use a plastic scraper to remove any cracked or peeling caulk around the screw head.
- Clean the area: Use isopropyl alcohol to ensure the surface is dry and oil-free.
- Apply Sealant: Use a high-quality RV lap sealant or a small dab of clear silicone designed for outdoor use.
- Tighten carefully: If the fastener is loose, tighten it before the sealant sets, but do not over-torque it, as this can strip the wall material.
How Do You Seal RV Side Seams?
The side seams are where two large exterior panels meet. These are often covered by trim.
- Inspection: Look for gaps in the existing caulk.
- Cleaning: Remove dirt and old “gunk.”
- Application: Run a steady bead of non-sag sealant along the entire vertical length of the seam. This ensures that even if the RV flexes while driving, the water stays out.
2. Professional Sealant Comparison
Not all sealants are created equal. Choosing the right one is vital for caulking camper projects.
| Sealant Type | Best Use Case | Benefit |
|---|---|---|
| Self-Leveling Lap Sealant | RV Roof Seams | Spreads out to cover wide gaps |
| Non-Sag Sealant | Vertical Side Seams | Does not drip down the wall |
| Butyl Tape | Under Windows and Molding | Creates a sticky, water-proof gasket |
| Silicone (RV Grade) | Around Lights and Fasteners | High UV resistance and flexibility |
3. Resealing RV Roof Seams
The roof is your first line of defense against rain. Resealing RV roof seams should be an annual task.
Most RV roofs use EPDM or TPO membranes. You must use a sealant compatible with these materials.
- Step 1: Wash the roof thoroughly and let it dry.
- Step 2: Inspect the “lap joints” (where the roof meets the front and rear caps).
- Step 3: If the old sealant is still well-adhered but thin, you can apply a new layer of self-leveling sealant directly over it. If it is peeling, remove the loose parts first.
4. RV Corner Maintenance and Repair
The corners of an RV are high-stress areas. They experience the most movement and wind pressure.
RV Corner Molding and Repair Kits
RV corner Molding is the metal or plastic strip that covers the junction of the wall and the roof or two walls. If this molding is bent or cracked, you may need an RV corner repair Kit.
Typical kits include:
- Replacement aluminum or vinyl inserts.
- Butyl tape.
- New stainless steel screws.
- Tube of non-sag sealant.
How to Reseal RV Corners
To reseal RV corners effectively, follow these steps:
- Remove the vinyl insert strip from the molding to reveal the screws.
- Back out the screws and gently pull the molding away from the body.
- Scrape off the old butyl tape.
- Apply fresh butyl tape to the back of the molding.
- Press the molding back into place and re-insert the screws.
- Apply a bead of sealant along the edge where the molding meets the RV wall.
5. Guide to RV Corner Molding Types
Depending on your camper model, you may need different types of molding.
| Molding Type | Material | Width Options | Common Lengths |
|---|---|---|---|
| L-Beam Trim | Aluminum | 1.0 in to 2.5 in | 8 ft, 12 ft, 16 ft |
| Insert Trim | Vinyl/Plastic | 0.5 in to 1.0 in | Rolls of 25 ft to 100 ft |
| Drip Rail | Painted Aluminum | 0.75 in | 12 ft |
6. How to Install RV Corner Molding
If you are replacing a damaged section, here is how to install rv corner molding properly:
- Measure twice: Ensure the new molding matches the curve of your RV. You may need to pre-bend aluminum molding.
- Apply Butyl: This is the most important step. The tape acts as the primary water barrier.
- Screw Placement: Use the existing holes if possible. If the holes are “stripped” (too large), use a slightly larger screw or fill the hole with wood epoxy first.
- Insert the Vinyl: Once the metal is secure, slide or snap the vinyl insert into the center track to hide the screws.
7. Sealing RV Windows
Leaky windows can cause hidden rot inside your walls. Sealing RV windows usually requires a “reseal” rather than just adding more caulk on the outside.
- Remove the Window: Unscrew the inner “trim ring” and push the window out from the inside.
- Clean Surfaces: Clean both the window frame and the RV wall.
- Use Butyl Tape: Place a layer of butyl tape around the entire inner flange of the window.
- Reinstall: Have a partner hold the window from the outside while you screw it back in from the inside.
- Trim and Bead: Trim away any excess butyl tape that squeezed out, then run a thin bead of clear sealant around the top and sides for extra protection.
8. Application Areas for RV Sealants
Proper caulking camper techniques apply to several areas:
- Roof Components: Vents, fans, skylights, and antennas.
- Exterior Walls: Door frames, storage compartments, and city water inlets.
- Lighting: Tail lights, marker lights, and porch lights.
- Undercarriage: Where pipes or wires exit the floor.
9. Recommended Tools for Success
To complete these tasks, you will need a basic toolkit:
- Caulk Gun: A high-ratio gun makes it easier to apply thick sealants.
- Plastic Scrapers: To avoid scratching the RV’s paint or fiberglass.
- Heat Gun: Helpful for softening old, stubborn sealant.
- Cleaning Solvent: Isopropyl alcohol or specialized wax/grease remover.
- Measuring Tape: For fitting new RV corner Molding.
10. Digital Specifications for Sealant Performance
When choosing products, look for these technical ratings to ensure longevity.
| Property | Standard Value |
|---|---|
| Elongation (Flexibility) | 200% to 600% |
| Service Temperature Range | −40∘F to 200∘F |
| Tack-Free Time | 30 to 60 minutes |
| Full Cure Time | 24 to 48 hours |
how to reseal RV corners and how to seal rv camper wall fasteners
Learning how to reseal RV corners and how to seal rv camper wall fasteners is a skill that saves you thousands of dollars. By using the right materials—like high-quality RV corner Molding and proper caulking camper techniques—you ensure your RV remains a safe and dry home on the road.
Regular inspection is key. Check your RV side seams and RV roof seams every six months. If you see a crack, fix it immediately. Happy camping!